In previous post I installed ERPNext and Metabase on Digitalocean. Now I’m going to load some data into ERPNext and Connect it to Metabase so display the data.
I’m not going to use ERPNext data loading tools but do it via API usin Go programming language.
I will be creating 1000 Sales orders and customers in ERPNext using API calls. It will also test how well the 5$ Digital Ocean droplet will hold when giving it some work to do.
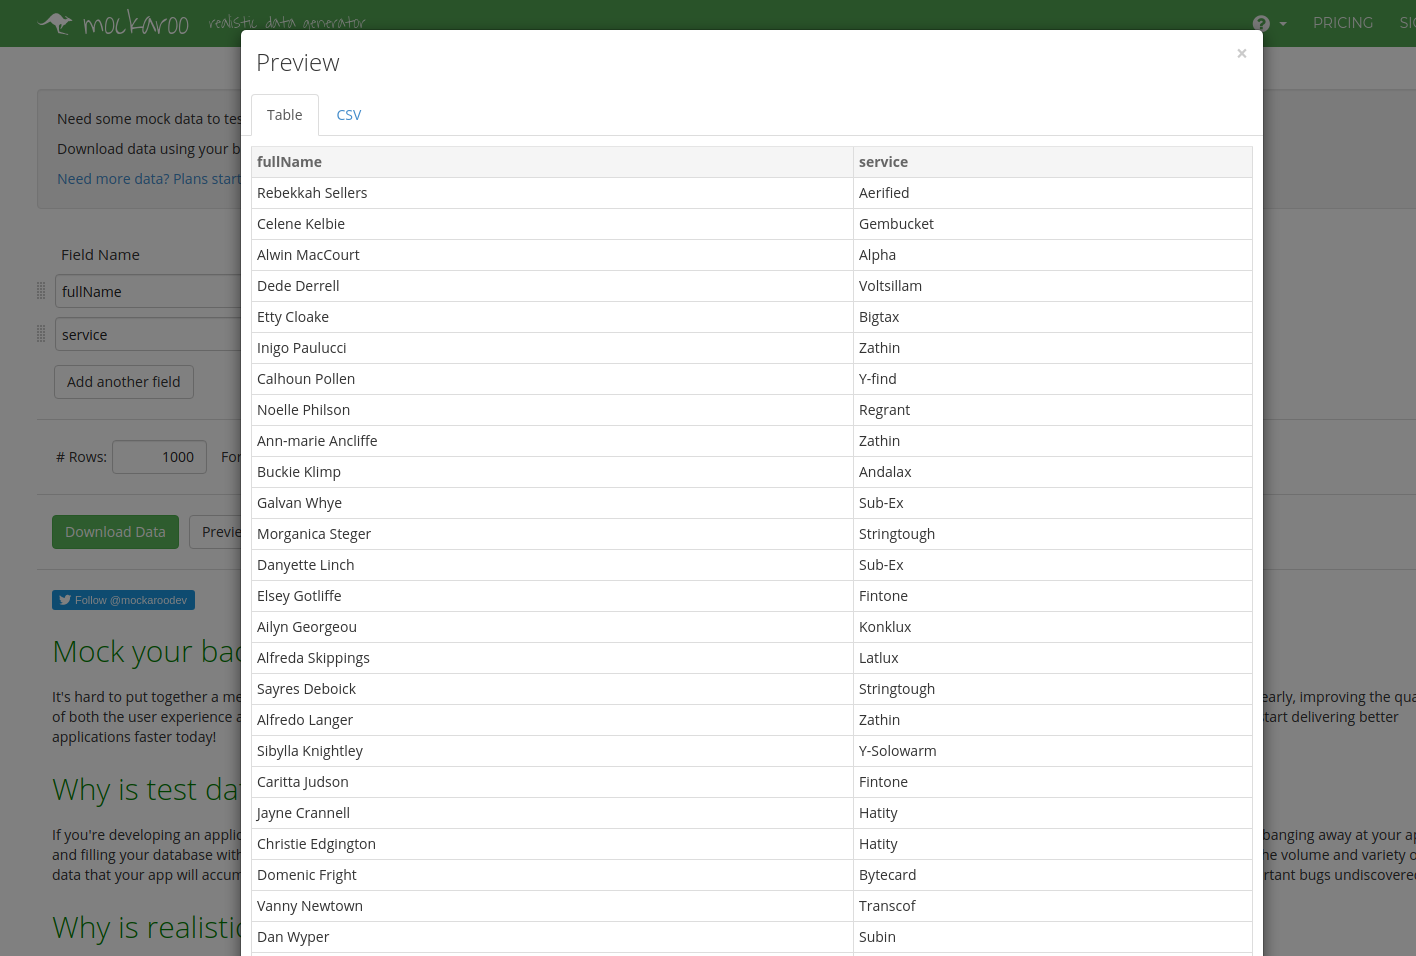
Step 1: Generate some mock data
I’m using Mockaroo to generate some random data in CSV:
Step 2: Create the Go programm and post the Data to ERPNext
Here is the program I created and used
You can find also the API endpoints and example payloads from that program. How to obtain API Key you can check ERPNext documentation.
Basically this program is just reading a CSV and generating some other random data such as price and delivery dates. It uses goroutines to make sure that customer is created before trying to create sales order to that customer.
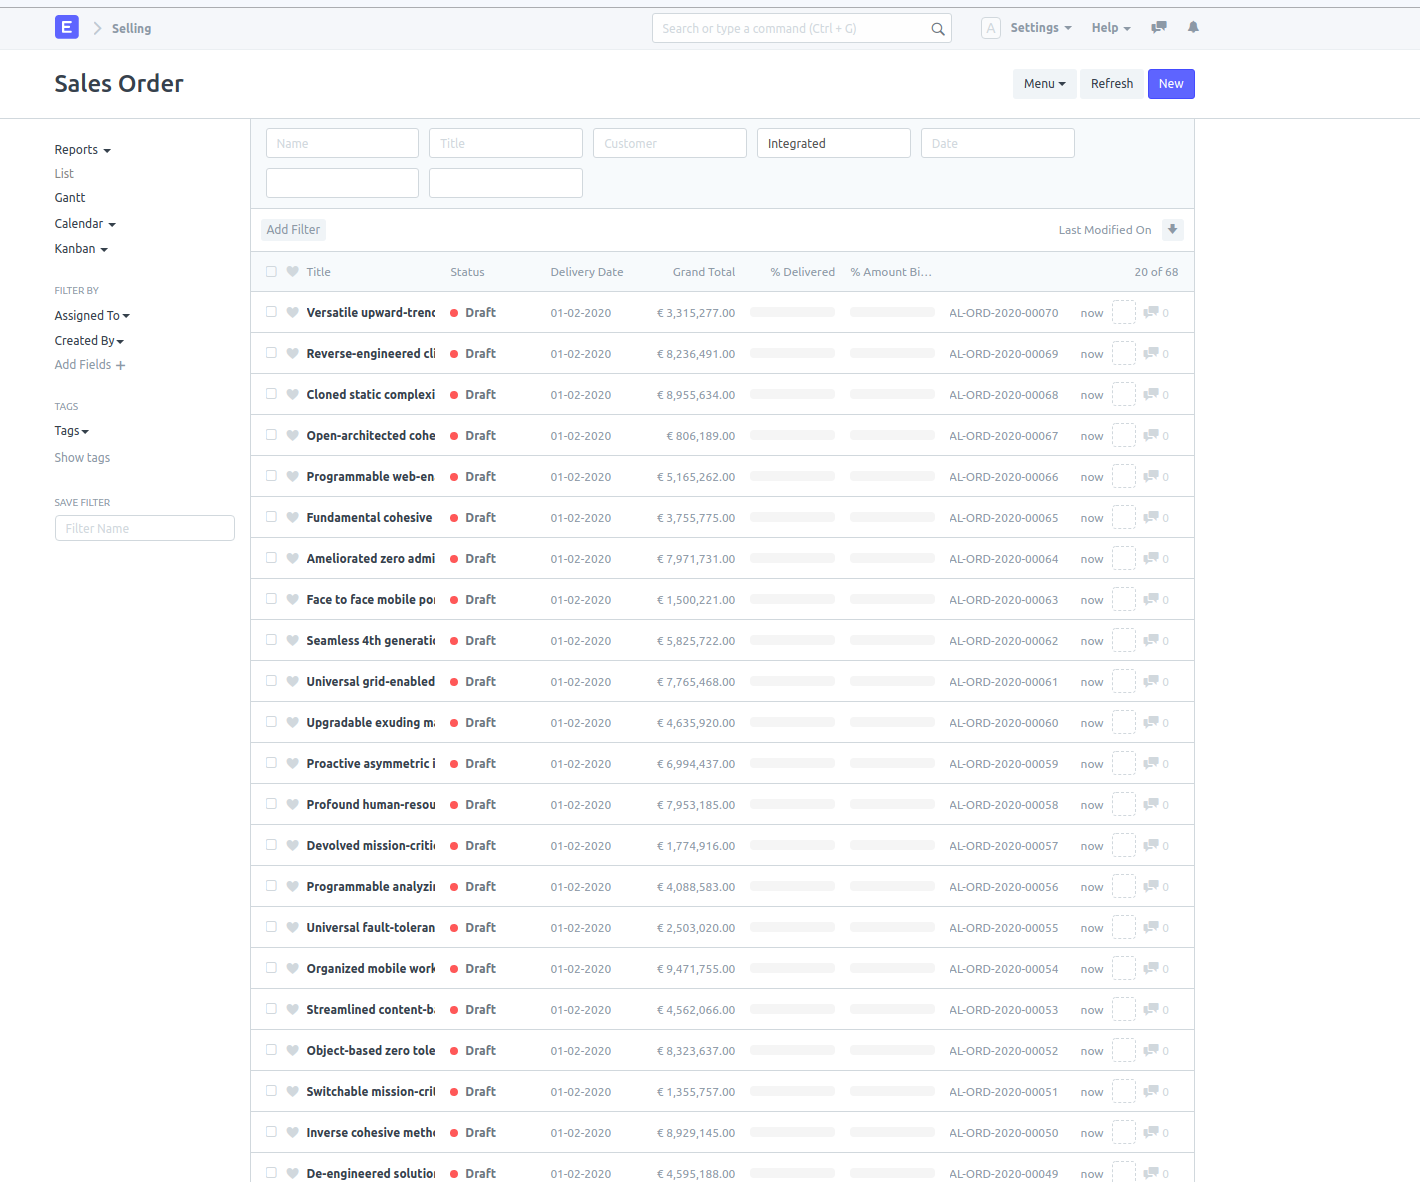
You should now see some data coming in to the ERPNext.
Step 3: Allow remote database access on ERPNext server
In order to connect to the ERPNext database on remote server from the Metabase server we need to allow connection to it.
Edit mysql settings to bind it to server ip with root or su user:
- Edit
/etc/mysql/my.cnfand find row bind-address and assign it to your servers ip. - Restart mysql
/etc/init.d/mysql restart
Now lets grant access to your ERPNext database:
- Find out the database name by switching user to your erpnext/frappe user that you created previously and running
cat ~/frappe-bench/sites/site1.local/site_config-json. From this file you can find out the database name. Copy it or write it down. - Now connect to mysql server by running
mysql -u root -p mysql - Run the following SQL:
GRANT ALL ON foo.* to bar@'METABASE_IP' IDENTIFIED BY 'PASSWORD'where foo is your erpNext server name and bar is the user you want to use for the connection and password is something secure.
Open port 3306 for remote connection
Now lets allow remote connection from your Metabase server on port 3306 by altering the IP Tables:
/sbin/iptables -A INPUT -i eth0 -s METABASE_SERVER_IP -p tcp --destination-port 3306 -j ACCEPT
Save the table: service iptables save
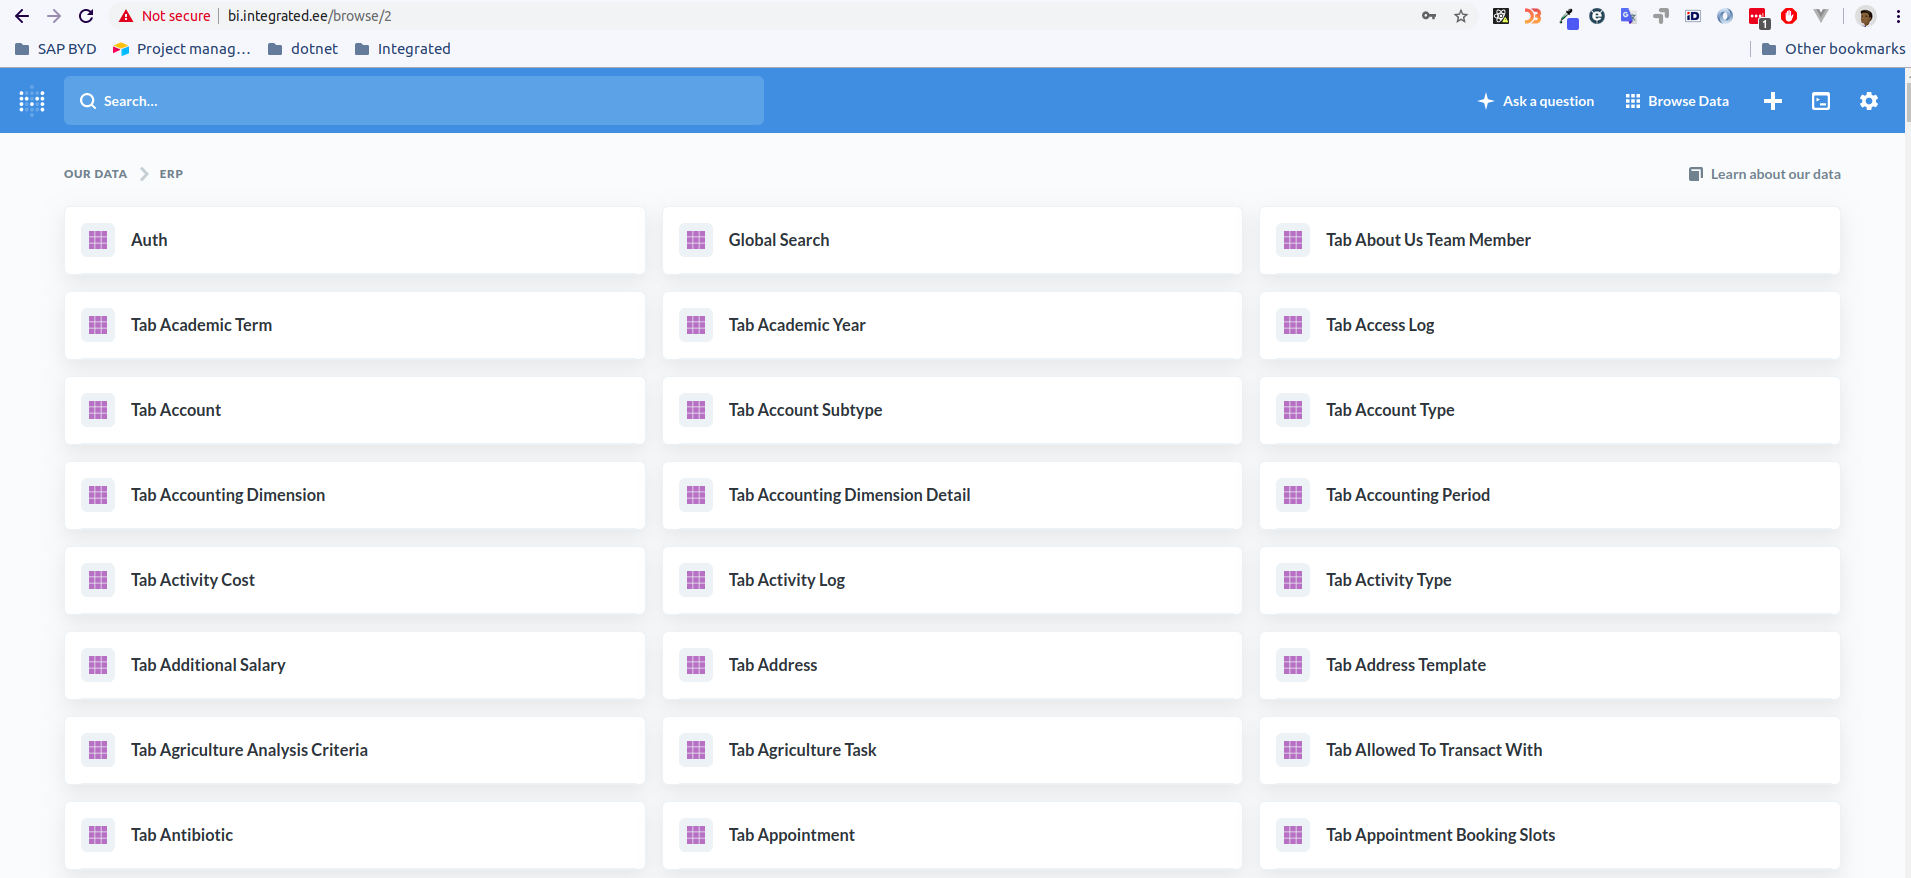
Step 4: Connect to ERPNext with Metabase
Now everything should be ready and pretty straight forward. Go to your metabase address and fill out the connection details. Use the user and password that you granted the access to in the previous step.
If all went well, you should see all your ERPNext tables in Metabase:
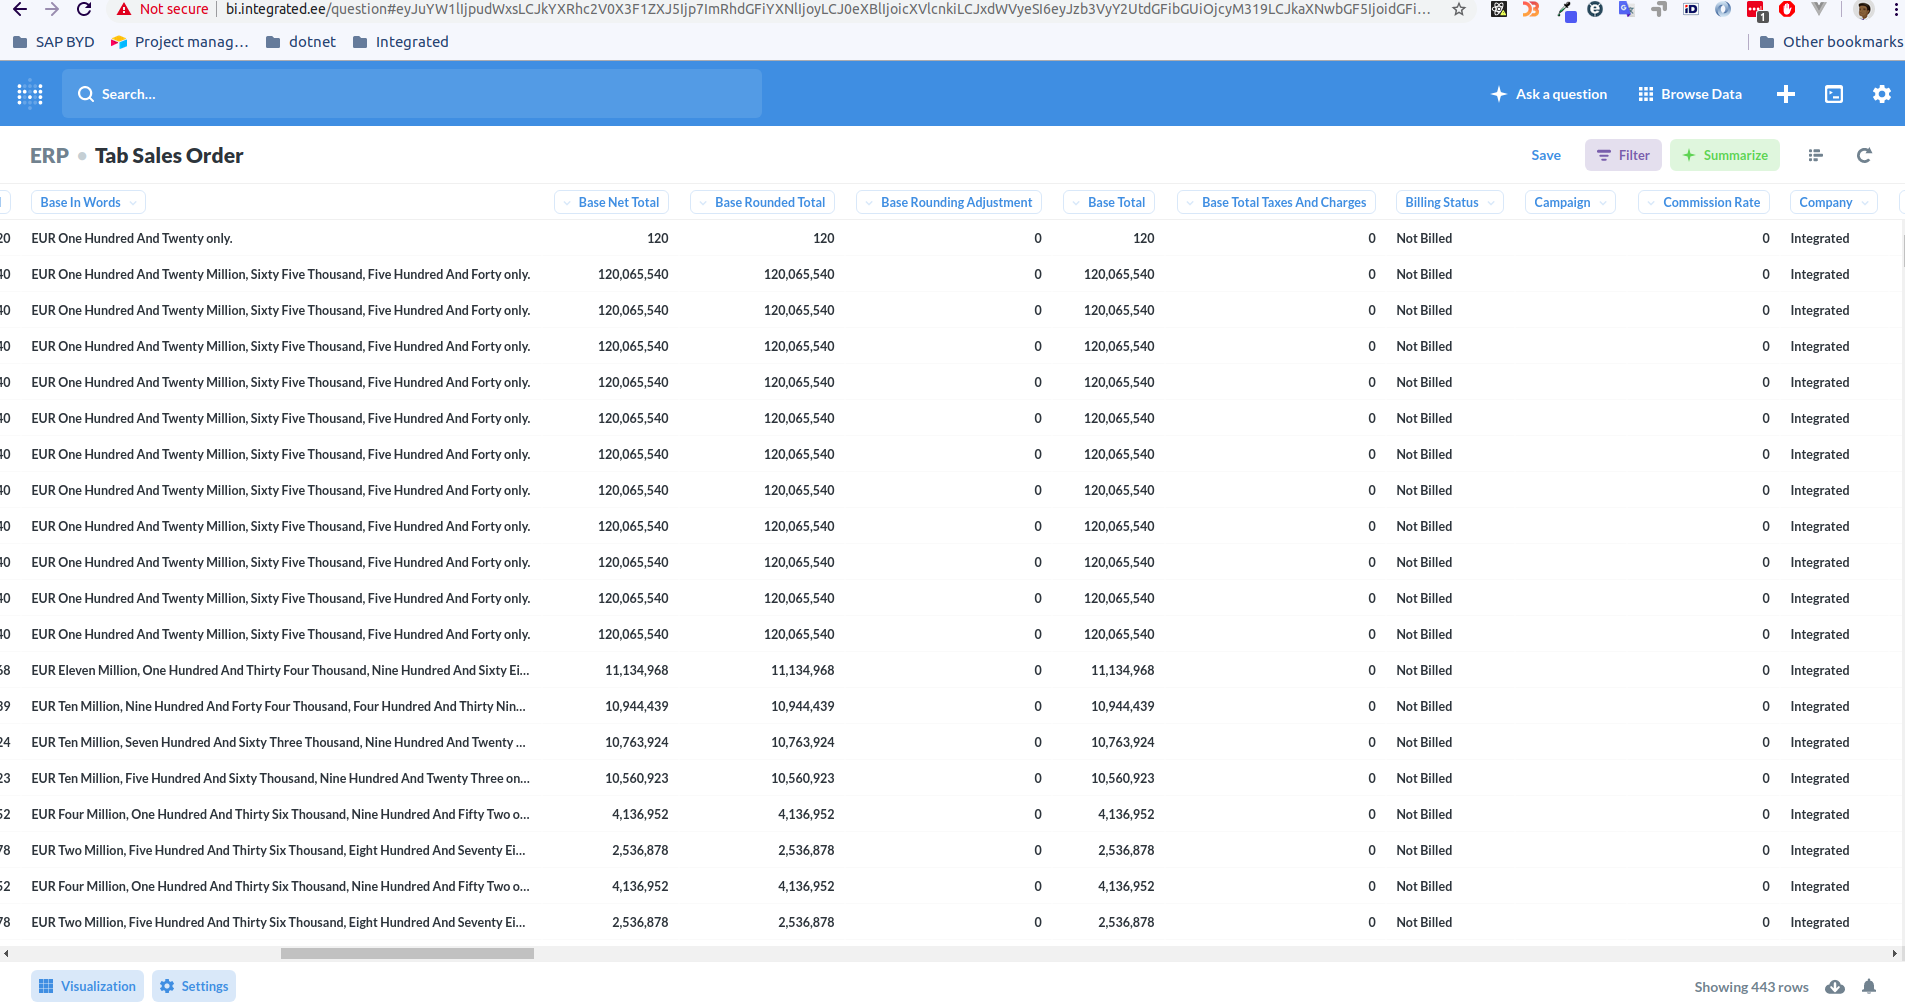
And my Sales orders that I posted via API are all visible now in Metabase:
Thats it.